
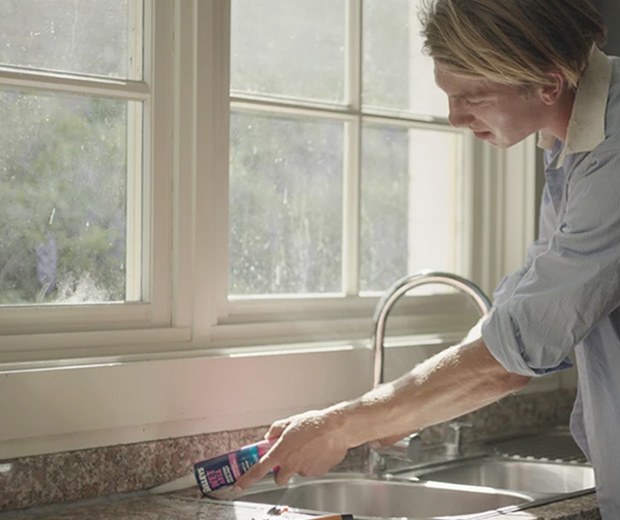
The most important part of installing a splashback is sealing it !
If water falls behind, it can create mould, rot and can trap dirt. It's super easy to prevent this is using a Selleys Wet Area White. Check out the tips below!
What You Need
- Selleys Wet Area White
- Caulking Gun
- Thinner
- Wahi Tape
- Clean Cloth
- Spatula
- Scraper
Step-by-Step Guide
- Remove the old silicone using a knife or blade and then scrape away residual silicone.
- Ensure surfaces are clean and dry.
- Tape both sides of the gap before you begin sealing to ensure a neat finish
- Attach the supplied nozzle on the pierced tube and cut the tip of nozzle at 45 degree angle.
- Apply on needed surface and, smoothen with a scraper or spatula.
- . Once applied, peel of the masking taped along the perimeters for a clean finishing & leave the sealant to dry for at least 2 hours before using the area.
Handy Tips
- Clean up excess sealant before it dries out with a cloth dampened in thinner.
- The sealant will cure fully in 24 hours and you can carefully trim any excess then with a blade.